
Day #3


Since our addition has been finished, it has inspired me to finish projects that have been waiting for the addition to be finished.
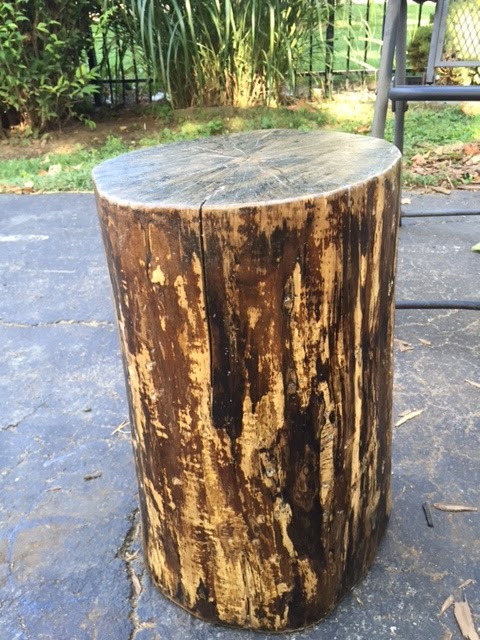
Like my tree stump side tables.
They are actually Carisa’s tree stumps.
Cut down from trees that had to be removed before her old house could be torn down and the new one to be built.
Why do I feel like the beginning of a sermon?
Anyway, we’ve had these two tree stumps for almost three years.
They sat out on our side porch as side tables for two years.
 |
| Don’t they look like cupcakes with frosting? Horrible, nasty, unrelenting frosting?! |
They were unprotected.
I had Monte move them inside before the “big dig” of our addition happened.
He said they weighed 432 pounds a piece.
They had all Fall and Winter and Spring and most of the summer to dry.
It’s amazing how much lighter they were after losing all that water weight!
Why do I feel like the beginning of a weight loss commercial?
I started prying off the bark from the stumps with a hammer and the end of a screwdriver and/or a crow bar.


Some pieces of bark were still somewhat stubborn to get off.
But overall, I worried the wood was way too soft from leaving it out in the elements for so many years.
The underside of the stump had started to rot.
I put the stumps back in the garage until school started again.
The remaining pieces dried enough and came off much easier.
I sanded down the entire stump with my little palm sander.
 |
| I love this sander so much! |
The great thing about taking breaks working on side tables--instant foot stool!

I wiped it all off and then put painted on acrylic polyurethane to protect the wood and hopefully harden up any soft spots from rot.


I painted on three coats of poly on the sides and 4 on the top.


I painted on three coats of poly on the sides and 4 on the top.
While I love using water-based products versus oil-based, this poly dried a little white in all the cracks and grooves of the wood.

But it dried fast and I was able to do
ALL those coats in one day.
So I’ll deal with the white cracks.
Wait.
Ew.

 |
| I love the curve and coloration of this one. |
When my dad was in town, I had him put 4 casters on each stump. 3 weren’t enough--it was too unstable. 4 is the way to go.


 |
| He had to avoid the rot spots when attaching the castors. |


I love them!
Monte hides them during every bible study in case the boys
decide to race them across the family room.


You've come along way since our unfinished wood tables we bought. You need to get to Georgia and HELP me decorate!!!
ReplyDeleteI know! We were the blind leading the blind on those tables. But I still have one! I’m ready to come to Georgia SOON! We miss you all!
DeleteI love these!
ReplyDeleteYay! I have been waiting for a Karmen DIY for a long time and this was worth the wait. Love the tables and especially the curved one!!!
ReplyDeleteI think this is the neatest idea!
ReplyDelete